
When you build changes for a client on a staging site, the risky part is moving them to production. The client may have edited the live site while you worked, new orders and form entries keep arriving, and a full staging push would overwrite all of that. Images or links can also end up pointing to the staging domain.
This checklist moves only your changes to the live site, and checks before and after so nothing is lost. Every step below was tested on a staging and a live copy of the same WooCommerce store with Import Export by RockStarLab. Everything in this guide works in the free plugin.
The example job: on staging we rewrote the Services page, added a new Wholesale page with an image, and wrote a blog post about new opening hours. Meanwhile the client changed the phone number on the live Contact Us page.
Before you push
1. List what you changed on staging
Write down the date you started the job. On staging, go to Import Export → Export, choose Pages, and add a filter Modified Date greater than or equal to that date. The counter shows how many pages you touched; export them to get the list with titles and links. Repeat for Blog Posts and any custom post types you worked on.

Here it found two pages: Services and the new Wholesale page. This list is what you push, and nothing else. Send it to the client with your invoice too, so they can see what changed.
2. Check what the client changed on live
Run the same filter on the live site. Anything it finds was edited on live after you copied the site, so staging has an older version of it.

Live shows one page: Contact Us, where the client updated the phone number. It isn’t on our list from step 1, so we leave it alone and the client’s change stays. If a page appears on both lists, copy the client’s change into staging first, then push the merged page.
3. Back up the live site
Make a backup of live right before the push. In the admin, open UpdraftPlus and click Backup Now. If an AI agent manages the site, it can start one with the rsl-ie/updraftplus-backup-start ability. See how to create a WordPress backup and restore it. Also note the time, in case you need to roll the change back.
4. Connect staging to live once
If you haven’t connected the two sites yet, copy the API key from Import Export → Content Sync on live, then add the live site on staging with that key. This guide shows the connection step by step. Once connected, you can reuse the connection for every future job on this client’s site.
The push
5. Push only the items on your list
On staging, go to Pages, select the pages from step 1, and choose Sync Content from the bulk actions. Pick the live site and click Push to Site, then Auto-match by Title.

Read the mapping before you confirm. Wholesale will be created as a new page. Services will update the existing Services page on live (the same ID, so its URL and menu item stay as they are). If a page matches the wrong live page, change it in the list. Then click Confirm & Sync.
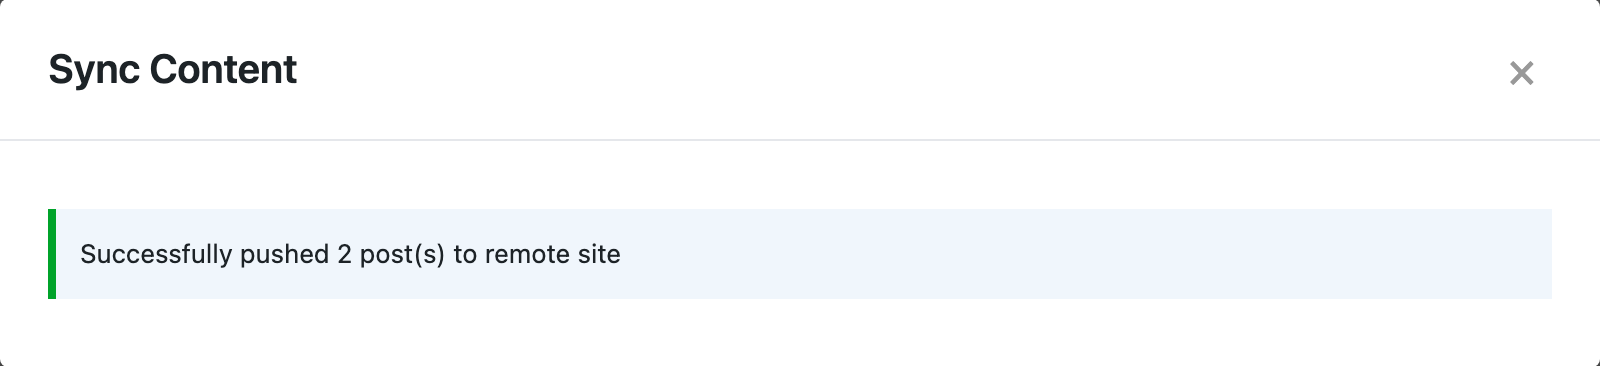
Do the same for the blog post from Posts. Orders, customers, form entries and every page you didn’t select stay as they are on live.
After the push
6. Look for leftover staging addresses
On live, export Pages (and Posts) with the filter Content contains your staging domain. The result should be 0.

Content Sync rewrites staging addresses to the live domain and copies the images into the live media library, so this check came back empty. The image in Wholesale and the link from Services to Wholesale both point to live. If you moved content another way and the count isn’t 0, see images that still point to the old domain.
7. Open the changed pages on live
Open each page from your list on the live site, logged out or in a private window. Check the images, the links, any forms, and that the page shows up in the menu if it should.

Then purge the page cache (LiteSpeed, WP Rocket, your host’s cache or Cloudflare), so visitors see the new version.
8. Keep a record
Import Export → Jobs Log on staging lists each push with the date, the content type and the number of items. Mention the job numbers in your report to the client, or attach the export from step 1.

9. Refresh staging before the next job
Staging is now behind live: it doesn’t have the client’s Contact Us change. Before the next job, pull the live content back to staging so you start from what the client sees. See refreshing staging with live content.
The checklist
- Note the start date of the job.
- Staging: export with Modified Date ≥ start date. This is your push list.
- Live: same filter. Merge anything that appears on both lists.
- Back up live and note the time.
- Push only the items on your list with Content Sync, and read the mapping before you confirm.
- Live: Content contains your staging domain should return 0.
- Open every changed page on live, then purge the cache.
- Save the Jobs Log entries or the export for the client.
- Refresh staging from live before the next job.
For stores, the same approach keeps orders safe while you push product changes: see WooCommerce staging to live without losing orders. To push new blog posts only, see copying only new posts from staging to production.
With an AI agent
An AI agent connected through the WordPress MCP Adapter (see connecting Claude Code to WordPress) can run the same checklist on both sites. It uses rsl-ie/export-preview with a post_modified filter to list what changed on staging and on live, rsl-ie/sync-auto-map to find the matching pages on live, and rsl-ie/sync-push to send only those pages. A prompt for the staging site:
List the pages changed on this site and on the connected live site since
8 November 2026. If a page changed on both, stop and tell me. Otherwise
match the pages changed here to live by title, show me the matches, and
after I confirm, push only those pages. Report what was created or updated.
In our run on a staging and a live copy of the same store, the agent found one changed page on staging (Services) and one on live (Contact Us, where the phone number had been edited). The lists didn’t overlap, so it matched Services to the same page on live and pushed it after confirmation: “created: 0, updated: 1”, with its seven images mapped to the files already on live. The new paragraph appeared on the live Services page, and the client’s phone number on Contact Us stayed as it was.
FAQ
Does Content Sync need the PRO add-on?
No. Pushing posts, pages and media between connected sites is part of the free plugin.
Will a push overwrite orders or form entries on live?
No. Only the items you select are sent. Orders, customers, form entries and pages you didn’t select stay as they are.
What if the client edited a page I also changed?
Copy the client’s change into the staging version first, then push the merged page. The Modified Date filter on both sites shows these pages.
How do I undo a push?
Restore the backup you made before the push, or follow the guide on rolling back a bad import or sync.
Related Guides
- How to Push WordPress Staging to Live Without Overwriting the Database
- Content Sync vs Export/Import: Which One for Which Job
- Large Content Sync in WordPress: Batching, Timeouts and Re-running a Push
- How to Create a WordPress Website Backup and Restore It

Comments 0
Have a question or a tip to share? Leave it below.