
In this tutorial, you will learn how to import WordPress Media Library files from another website using a CSV or Excel file with Import Export by RockStarLab.
This workflow is useful when you need to move images, videos, PDFs, and other media files from one WordPress website to another without manually downloading and uploading each file.
In the previous lesson, we exported all Media Library files from the source website. In this lesson, we use that export file to import the media files into a second WordPress website.
Why Import Media Library Files from Another Website?
Moving a WordPress Media Library manually can take a lot of time. If you have dozens, hundreds, or thousands of files, downloading and uploading each file by hand is not practical.
With Import Export by RockStarLab, you can use an exported CSV or Excel file to import media files into another WordPress website and register them in the Media Library.
This can help with:
- WordPress website migration
- Moving images from one site to another
- Copying PDFs, videos, and other media files
- Rebuilding a website on a new WordPress install
- Preparing media assets for a staging or production website
- Reducing manual upload work
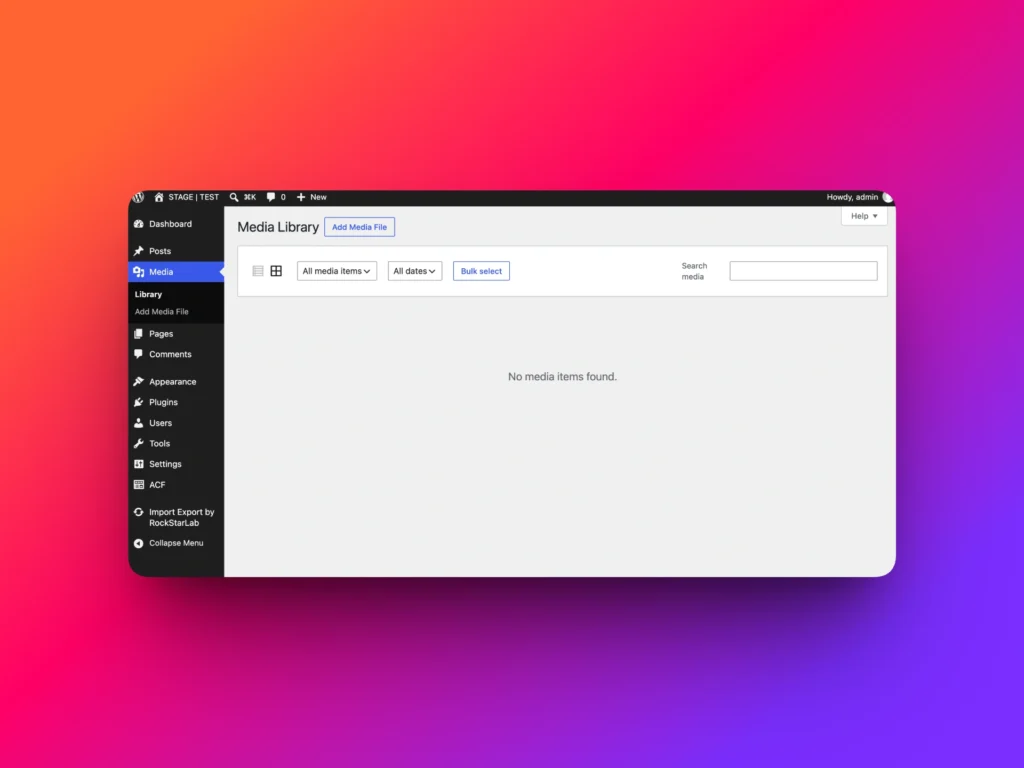
Before You Start
To follow this tutorial, install and activate Import Export by RockStarLab on the destination WordPress website.
You can download the plugin from WordPress.org:
Download Import Export by RockStarLab
You will also need the CSV or Excel export file created from the source website. If you have not created it yet, watch the previous lesson about exporting all WordPress Media Library files to CSV or Excel.
Step 1: Open the Import Tool
In the WordPress admin dashboard of the destination website, go to:
Import Export by RockStarLab → Import
This opens the import wizard.
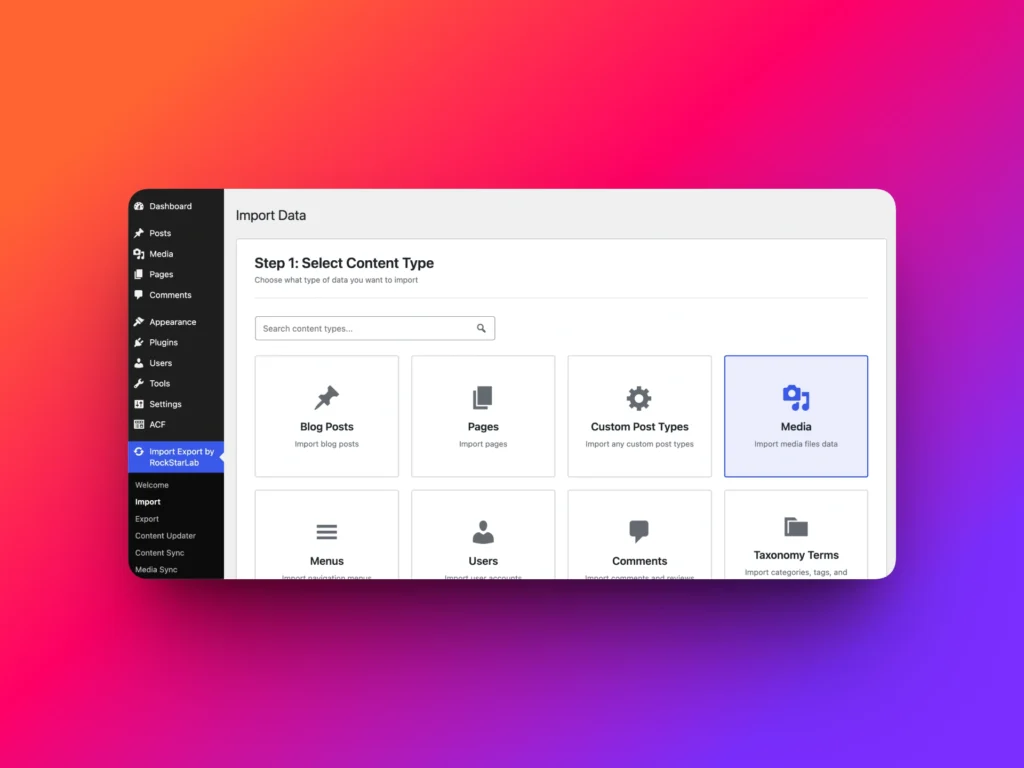
Step 2: Select Media as the Content Type
On Step 1, choose the content type that you want to import.
Select Media, then click Next Step.
Step 3: Upload the CSV or Excel Export File
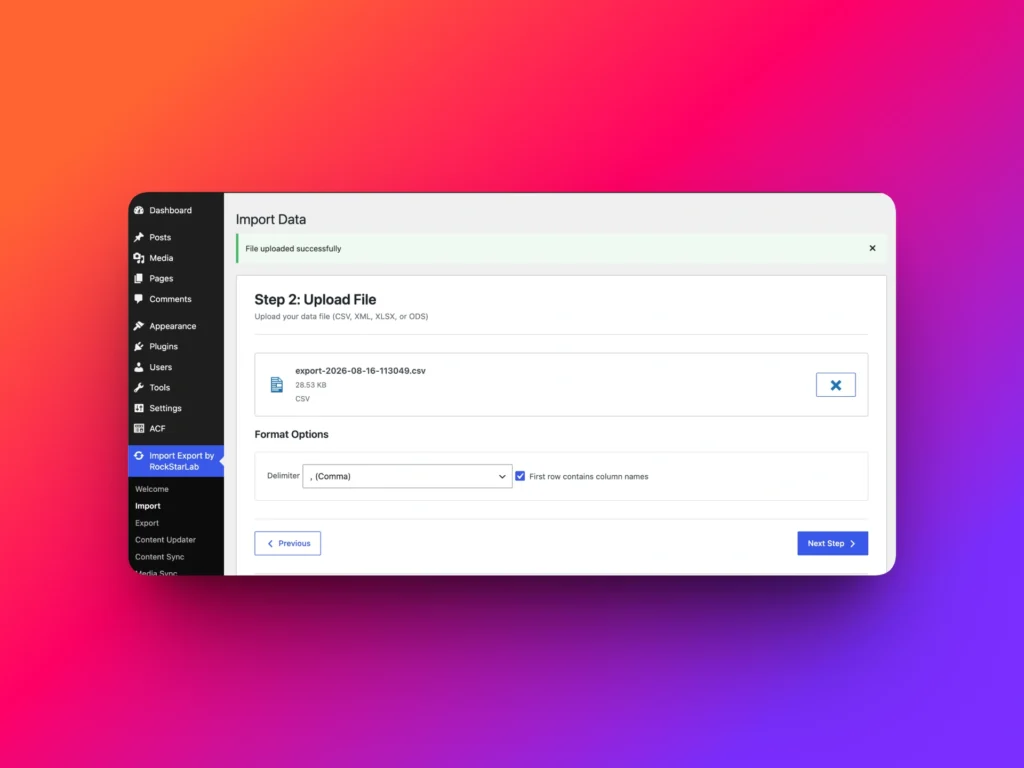
On Step 2, upload the media export file created in the previous lesson.
Click Select File, choose the CSV or Excel file, and wait until the upload completes.
After the file is uploaded successfully, click Next Step.
Step 4: Preview the Import Data
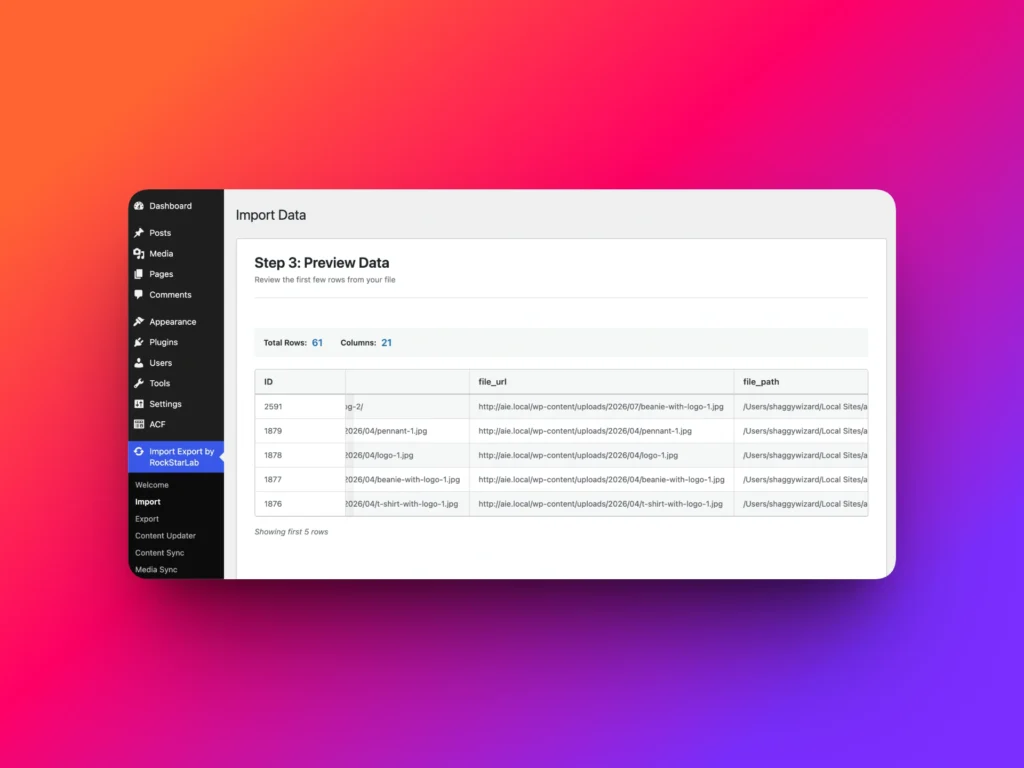
Step 3 shows a preview of the data inside the import file.
You can review the first few rows and confirm that the file was recognized correctly.
This preview helps you check that the file contains the media data you expect before continuing.
If everything looks correct, click Next Step.
Step 5: Map File Columns to WordPress Media Fields
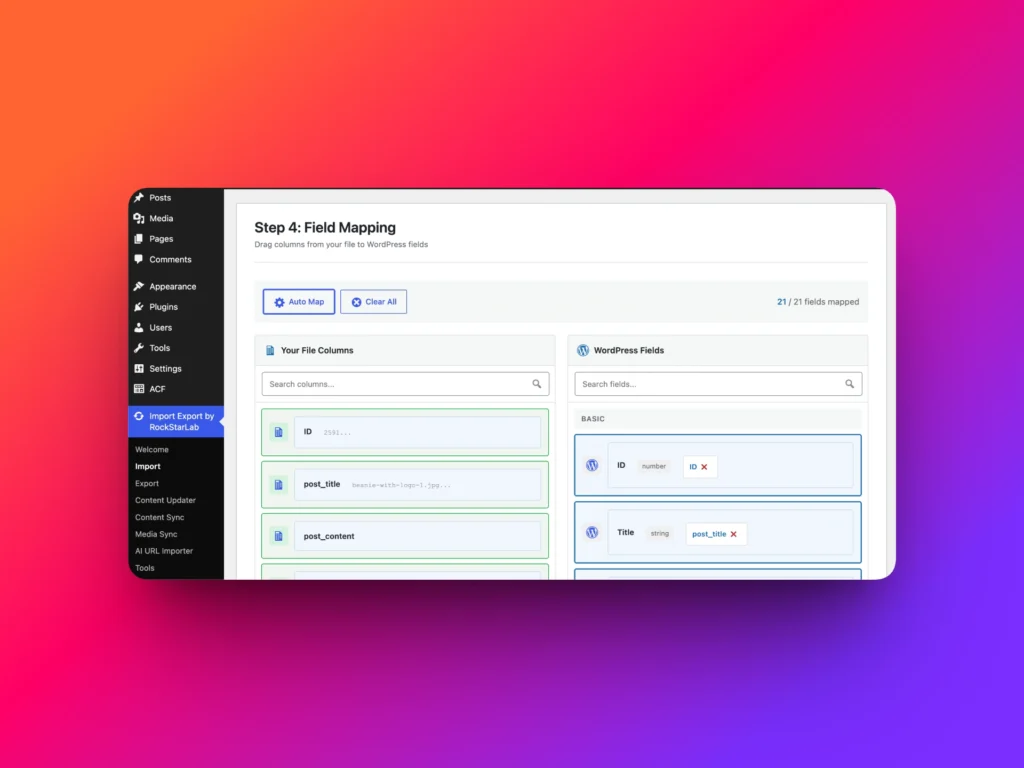
Step 4 is Field Mapping.
This is where you connect columns from the import file with WordPress media fields.
If the file was generated by Import Export by RockStarLab, you can click Auto Map. The plugin will automatically connect the file columns to the correct WordPress fields.
If you are importing a custom CSV file or a file created by another system, you can map fields manually by dragging columns from Your File Columns to the correct fields in WordPress Fields.
Manual mapping is useful when your file has custom column names or when you only want to import selected media fields.
Step 6: Configure Import Options
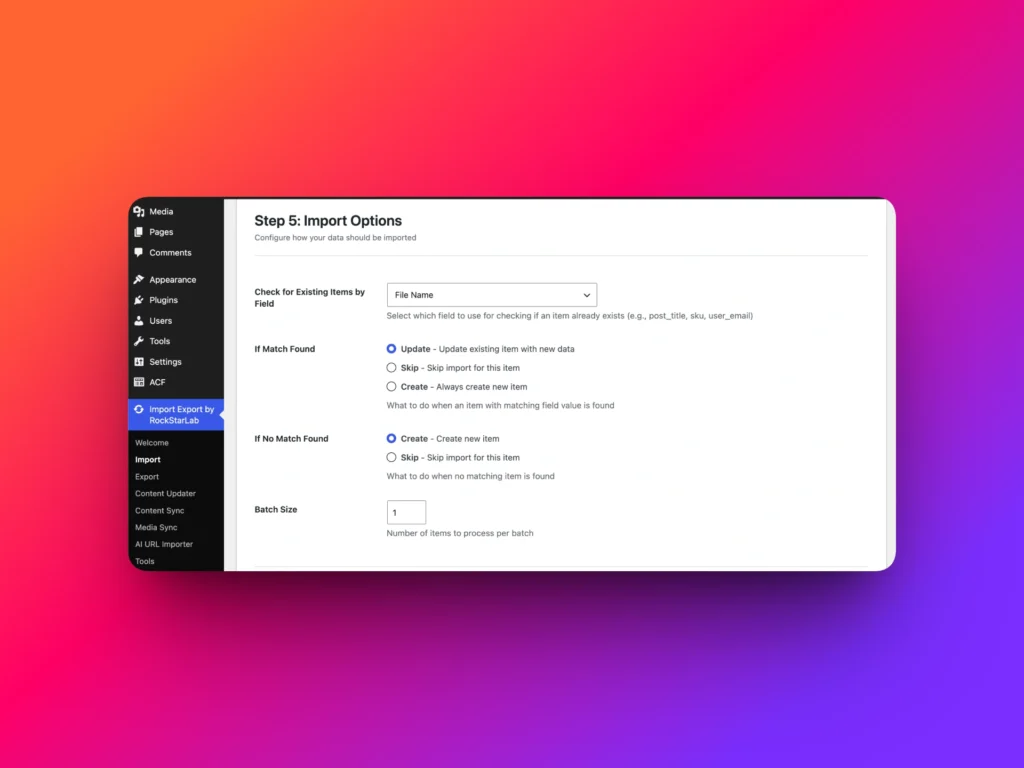
Step 5 contains import options.
The first important setting is Check for existing items by fields.
This controls how the importer detects whether a media file already exists in the WordPress Media Library.
For media imports, a common option is File Name. If a file with the same name already exists in the Media Library, the plugin can treat it as an existing item.
Next, choose what should happen if a matching item already exists:
- Update the existing media item.
- Skip the row and do nothing.
- Add the file anyway, even if a matching file already exists.
This helps you control duplicate handling during media imports.
Batch Size for Media Import
The Batch Size setting controls how many files are processed at once.
For most hosting environments, a batch size of 1 is the safest option when importing media files.
Media import can be heavier than text import because WordPress needs to download each file and generate registered image sizes. These can include thumbnails, medium images, large images, and any custom image sizes added by your theme or plugins.
If you use a powerful server, you may increase the batch size to reduce total import time. But for most websites, keeping the value at 1 helps avoid timeouts and memory issues.
Step 7: Start the Media Import
After reviewing the import options, click Start Import.
The plugin begins downloading files from the source URLs and registering them as WordPress media attachments.
For images, WordPress also creates the registered image sizes during the import process. Because of this, importing many or large files can take some time.
Step 8: Verify the Imported Media Library
When the import finishes, the plugin displays the result.
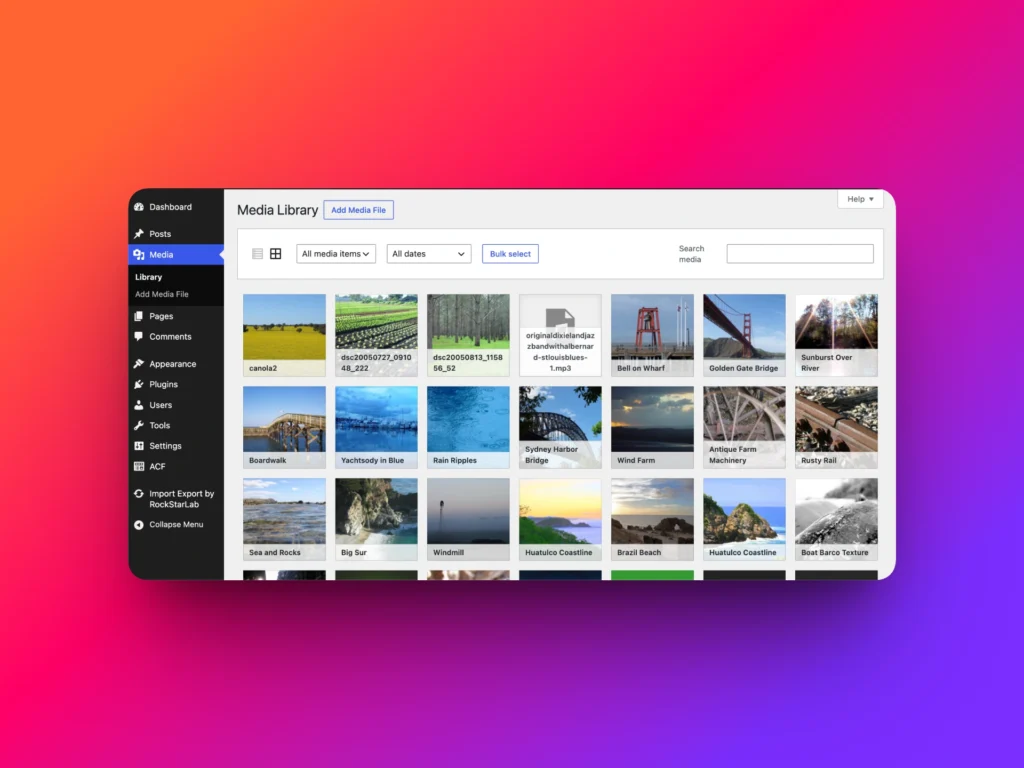
In this example, 61 media files were imported successfully.
Now open:
Media → Library
You should see the imported files registered inside the WordPress Media Library.
Media Import Workflow Summary
| Step | Action | Why It Matters |
|---|---|---|
| 1 | Select Media as the import content type | Tells the plugin that the file should be imported as Media Library attachments |
| 2 | Upload the CSV or Excel file | Provides the source media data and file URLs |
| 3 | Preview the import data | Confirms that the file was detected correctly |
| 4 | Map file columns to WordPress media fields | Controls where each file value will be saved |
| 5 | Configure existing item detection | Helps prevent or manage duplicate media files |
| 6 | Choose batch size | Helps balance import speed with server stability |
| 7 | Start import | Downloads files and registers them in the Media Library |
| 8 | Verify Media Library | Confirms that files were imported successfully |
Best Practices for Importing Media Files
- Create a backup before importing media into a production website.
- Make sure source file URLs are publicly accessible or reachable by the destination server.
- Use Auto Map when the file was exported by Import Export by RockStarLab.
- Use manual mapping for custom CSV files with custom column names.
- Choose File Name or another stable field for duplicate detection.
- Keep batch size at 1 for most hosting environments.
- Check the Media Library after the import finishes.
Conclusion
Import Export by RockStarLab makes it easier to import WordPress Media Library files from another website using a CSV or Excel file.
You can upload the export file, preview data, map fields automatically or manually, control duplicate handling, choose batch size, and let WordPress download and register the files in the Media Library.
This workflow is useful for WordPress migrations, moving media assets between websites, rebuilding sites, and reducing manual file upload work.
Learn more about the WordPress import export plugin
FAQ
Can I import WordPress Media Library files from another website?
Yes. Import Export by RockStarLab can import media files from another website using a CSV or Excel file that contains media data and file URLs.
Can the plugin download media files automatically?
Yes. During import, the plugin can download files from source URLs and register them in the WordPress Media Library.
Can I prevent duplicate media files?
Yes. You can configure existing item detection, such as checking by file name, and choose whether to update, skip, or add matching files.
What batch size should I use for media import?
For most websites, a batch size of 1 is recommended because media imports require downloading files and generating WordPress image sizes.
Can I use a custom CSV file for media import?
Yes. If your CSV file has custom column names, you can manually map file columns to WordPress media fields during the import process.