
In this tutorial, you will learn how to export Elementor pages from one WordPress website and import them into another website using the
Blocksy theme and Import Export by RockStarLab.
This workflow is useful when you need to move landing pages, service pages, homepage layouts, or full Elementor-built page designs between WordPress websites while keeping page content, Elementor widgets, layout data, and media files.
Why Export and Import Elementor Pages?
Elementor pages are not just plain WordPress content. They usually include layout metadata, widget settings, images, backgrounds, buttons, forms, icons, and other structured data.
If you copy only the visible page content, the design will not transfer correctly. Import Export by RockStarLab helps move the complete page data so Elementor can rebuild the page on the destination website.
About the Blocksy Theme
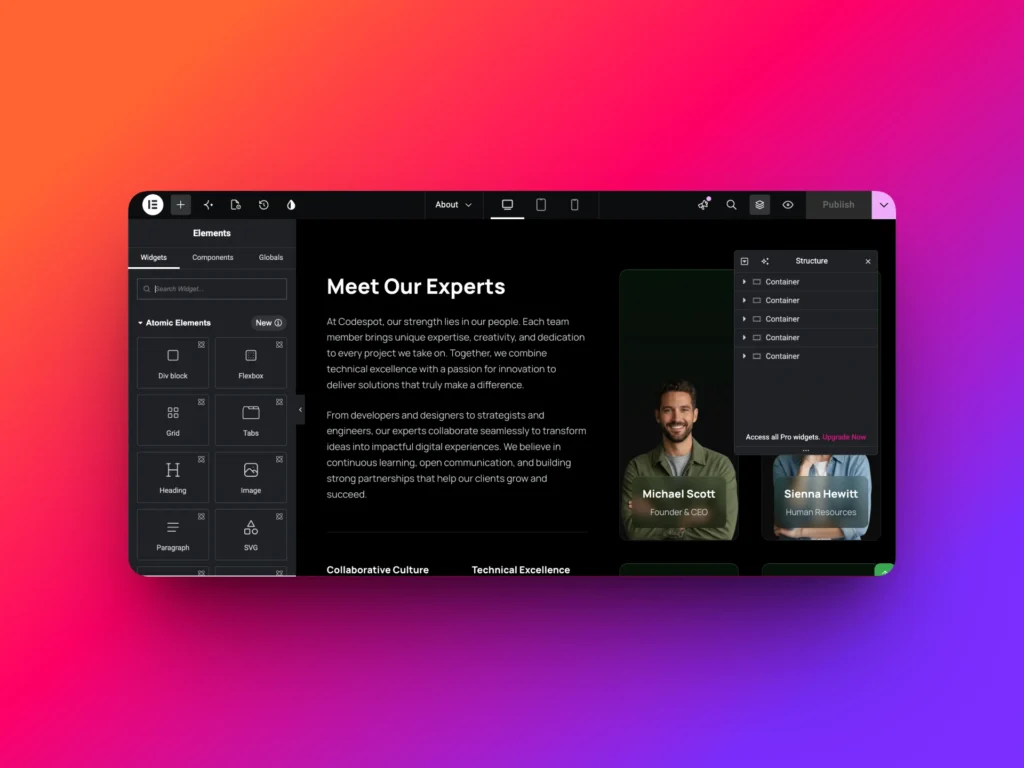
Blocksy is a lightweight and flexible WordPress theme that works well with Elementor. It includes starter templates, modern design options, and performance-focused code, which makes it a popular choice for building business websites, portfolios, blogs, and landing pages.
In this lesson, we use a free Blocksy starter template called CodeSpot. The first website contains several published Elementor pages, while the second website has the same theme active but no pages yet.
Exporting Elementor Pages from the First Website
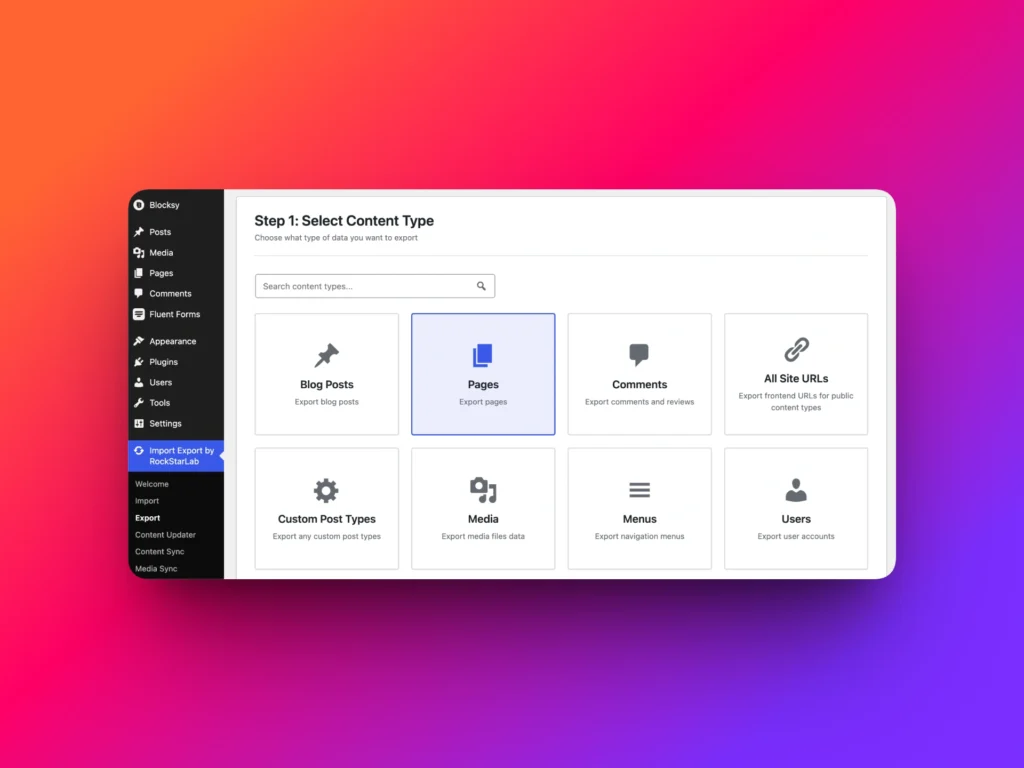
To begin, open the WordPress dashboard on the source website and go to Import Export by RockStarLab → Export.
On the first step, choose Pages as the content type and click Next Step.
In this example, the website has five published pages ready for export. The pages in the trash are ignored, so only published pages are included in the export workflow.
Selecting Elementor Fields for Export
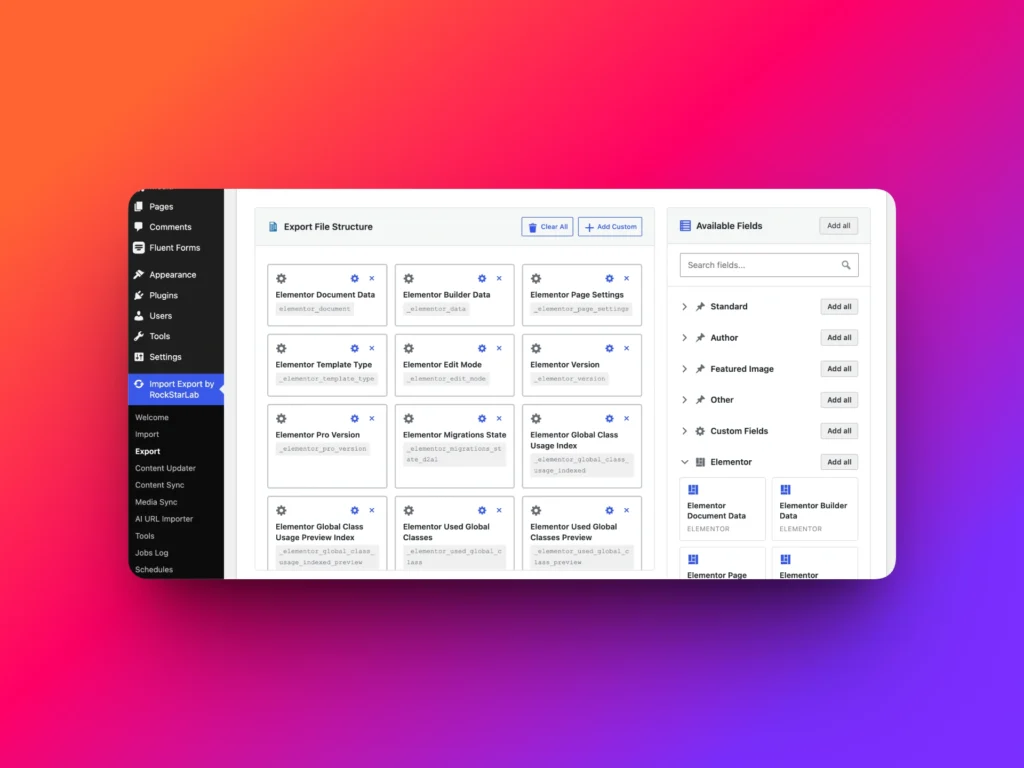
On the fields step, the plugin displays the available WordPress page fields. When Elementor is active, Import Export by RockStarLab also detects Elementor-related fields needed for page layouts and widgets.
To move the full Elementor pages, click Add All next to Available Fields. This creates a complete export structure with the content and metadata needed for the destination website.
You can also customize the export structure if needed. For example, you can remove fields, change the column order, or export only specific data. For a full Elementor page migration, exporting all fields is usually the best option.
Choosing the Export Format
Import Export by RockStarLab supports multiple export formats, including CSV, Excel, JSON, XML, and ODS.
In this tutorial, we use CSV because it is simple, portable, and works well for moving content between WordPress websites.
After selecting CSV, click Start Export. When the export is complete, download the generated file. This file will be used to import the pages into the second website.
| Export Format | Best Use Case |
|---|---|
| CSV | Moving Elementor pages between WordPress websites |
| XLSX | Reviewing or editing page data in Excel |
| JSON | Developer workflows and structured data exchange |
| XML | System migrations and integrations |
| ODS | LibreOffice and OpenDocument workflows |
Importing Elementor Pages into the Second Website
Now switch to the destination website. In this example, the second site has Blocksy active, but it does not contain any pages yet, and the media library is empty.
Go to Import Export by RockStarLab → Import, choose Pages as the content type, and upload the CSV file exported from the first website.
After the file is uploaded, the plugin shows a data preview. This lets you confirm that the file was detected correctly before anything is imported into WordPress.
Mapping Fields Automatically
The field mapping step connects the columns from your import file to WordPress page fields.
If you use a custom CSV file, you can manually drag columns from the file into the correct WordPress fields.
Because this file was created with Import Export by RockStarLab, you can click Auto Map. The plugin automatically detects the correct WordPress fields and connects them for you.
Import Options and Duplicate Handling
On the import options step, choose how the plugin should detect existing pages. For pages, Post Title is often a practical option.
If a matching page already exists, the plugin can update it, skip it, or create a new page anyway. If no match is found, the plugin can create a new page or skip the item.
These options give you control over whether the import should update existing content, create missing pages, or avoid duplicates.
Automatically Importing Elementor Media Files
Elementor pages often include images, background images, icons, and other media files. To transfer these assets, enable Automatically Import Media Files.
With this option enabled, Import Export by RockStarLab can copy media files referenced by the imported Elementor pages and add them to the destination WordPress media library.
You can also choose what should happen if a media file already exists: skip it, create a new copy, or replace the existing file.
Verifying the Imported Elementor Pages
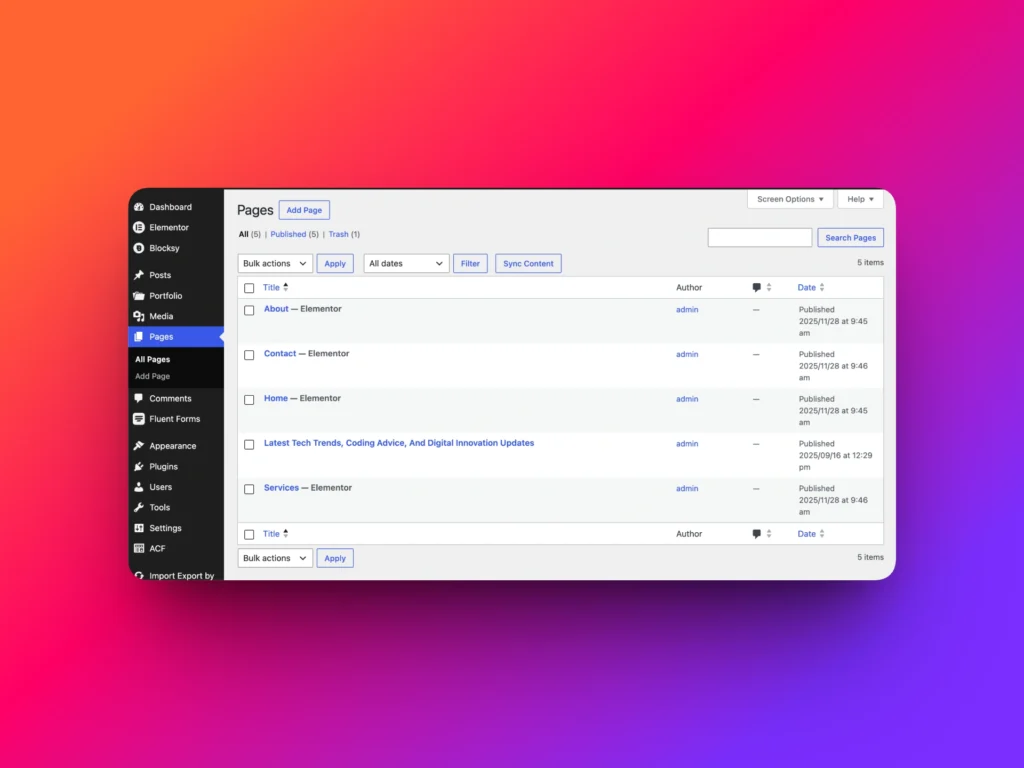
After the import is complete, open the Pages screen on the destination website. In this example, five pages were created successfully: About, Contact, Home, Touch Trends, and Services.
Open one of the imported pages and check it with Elementor. The Elementor widgets, text, layout data, and images should be available and editable.
Then open the Media Library to confirm that the images from the source website were copied to the destination site.
Elementor Page Export and Import Checklist
| Step | What to Check |
|---|---|
| Use the same builder | Make sure Elementor is installed and active on both websites. |
| Use a compatible theme | For this lesson, both websites use the Blocksy theme. |
| Export all required fields | Select all Elementor and WordPress page fields needed for the full layout. |
| Enable media import | Automatically copy images and media files used by the Elementor pages. |
| Choose duplicate logic | Decide whether to update, skip, or create pages when matches are found. |
| Verify after import | Open imported pages and check the media library on the destination website. |
FAQ
Can I export Elementor pages from WordPress?
Yes. Import Export by RockStarLab can export WordPress pages built with Elementor, including page content and Elementor-related data.
Can I import Elementor pages into another WordPress website?
Yes. You can export Elementor pages from one site and import them into another WordPress website using the plugin’s import workflow.
Will Elementor images be imported automatically?
Yes. If you enable Automatically Import Media Files, the plugin can copy images and media files referenced by Elementor pages into the destination media library.
Do I need the Blocksy theme to import Elementor pages?
You should use a compatible theme on the destination website. This tutorial uses Blocksy on both websites, which helps keep the layout and design consistent.
Can I avoid duplicate pages during import?
Yes. During import, you can choose a field such as Post Title to detect existing pages, then decide whether to update, skip, or create new pages.